It Is seemingly getting to a point where it is not so much me not updating the blog, but that SPRING has arrived and that means much less time indoors. This is a problem we knew would begin to happen and it seems that it reflects our progress in the basement. None-the-less lest see what we have done!
The laundry room is soo close to being done, its not even funny, we let the paint dry some more and I got the wiring back into place so we can have a code-friendly washing machine hook up I still have to hook the outlet up but for the most part that is all set. We had a bunch of hooks laying around from the PO, and some old gas pipe that was just shoved up in the ceiling and I found a good use for them. I took them and FIRST asked my wife where she wanted them and put them and created hanging rods so we could get clothes hung up in the laundry when we don’t want them dried.


To polish up the look for the room, I got a hold of some 1x6’s and ripped them down the the right heights and put them above the wall we created, this way I can secure them up with 3-4 screws and they are totally removable in the event that the ceiling ever gets replaced or for some reason someone needs to get behind that. W plan on painting it all black to match the vent that is on the east side of the room, just to make it all flow better, or who knows, maybe we will go with blue.
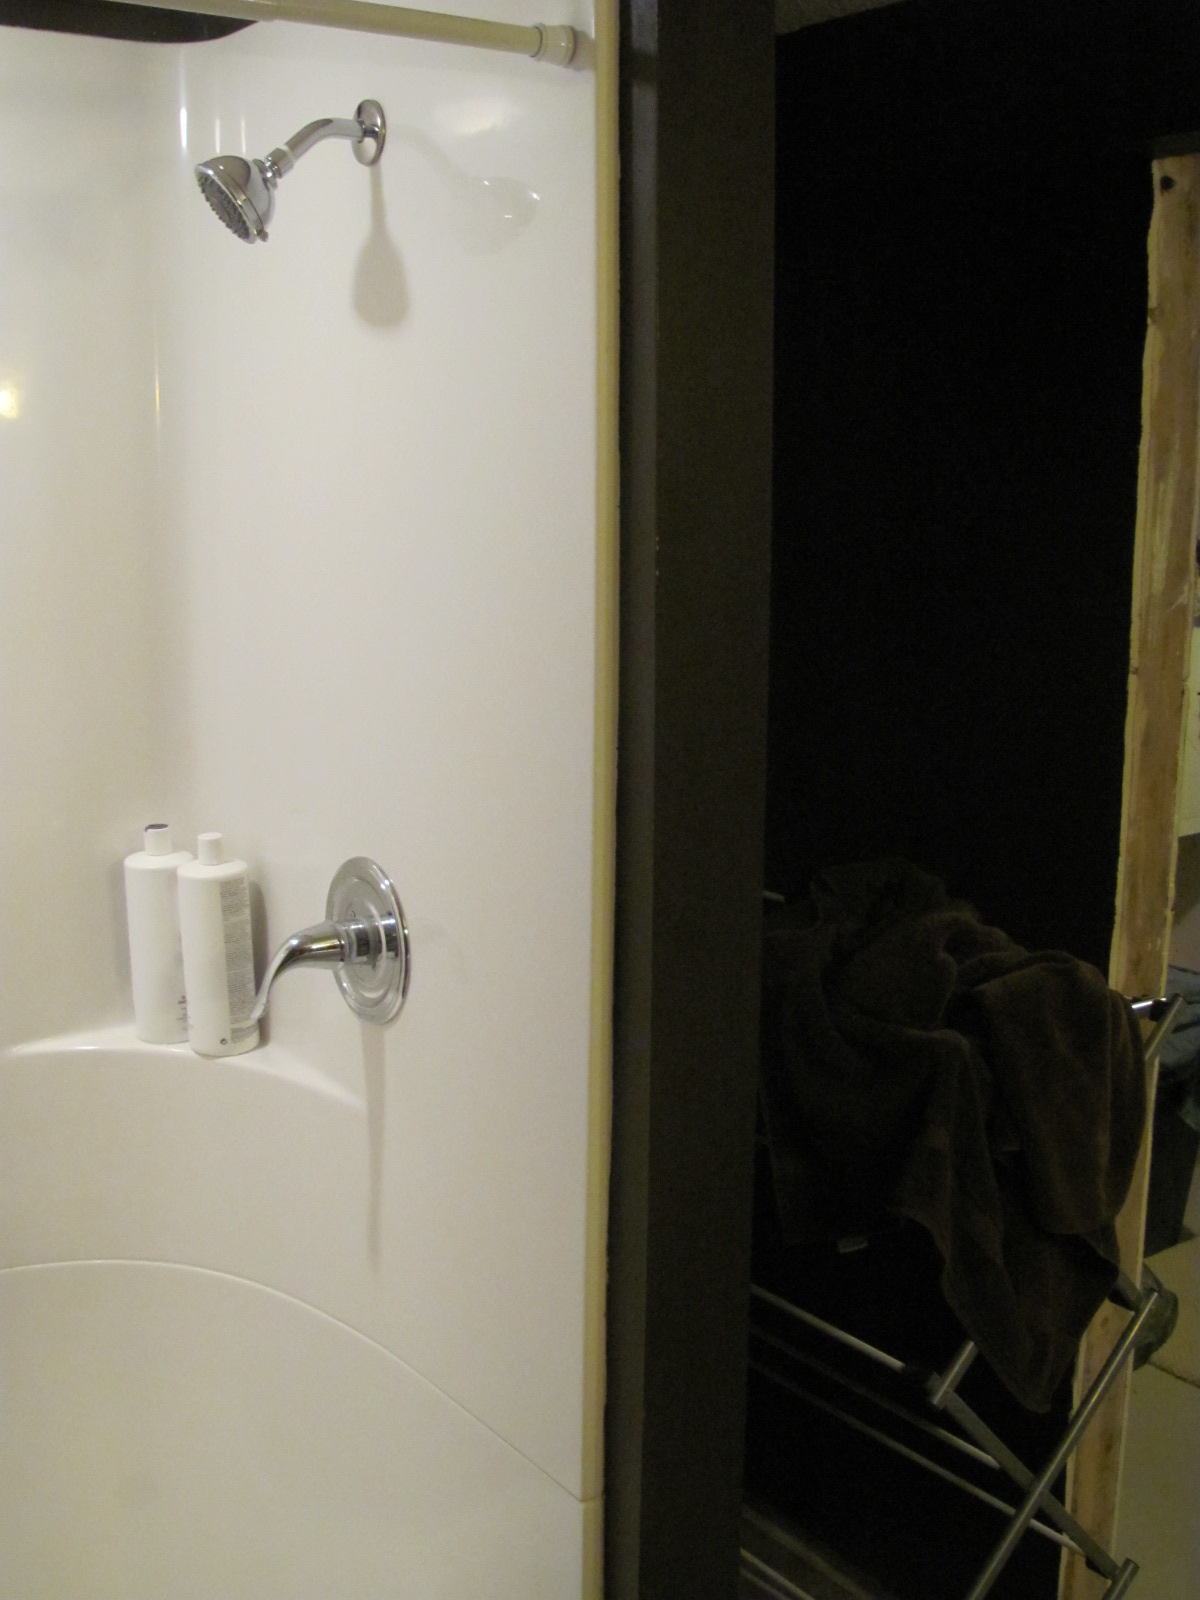
The Big update since the last time, Was that we went from a non-functioning room with a shower in it to an entire bathroom!! We finished sanding down all of the walls, and then proceeded to use the same trick we had before of putting a slight texture on with a paint roller. Then once that was dried we could throw the first coat of paint up to give it some good color that really added to the room. The whole time planning the project, we were worried that the bathroom would not feel very big or flow nicely at all. And to be honest, it did think that painting that color would result in it feeling way too small. Once we had the first coat of paint up we then decided to try the part that I was uncertain about, Laying the floor.


I had never tried to cut vinyl or lay it and I was a bit nervous because I knew this was one of those one chance things. Similar to something I said about the carpet, you can always cut to big and trim… you can’t ever cut to small and glue pieces back on. I picked two walls and dill all of my measuring off ot them so that way I was having consistent numbers and wouldn’t have issues by measuring one point off two different numbers.
I took the time to draw out the floor plan mirrored (because I was going to cut thee vinyl from the backside) and took measurements every foot so I could cover any un-squareneses in the wall.


I made 1 cut at a time, in this case using dots that were on the back of the vinyl to help with cutting lines. I also cut a little big, which worked out well because I had hung the dry-wall ½” above the ground so then the floor slid right under it. After a couple of test fits and final trimming on the tight spots; I took the floor out and gave the concrete below it one final sweep and wipe down. After it had dried out I laid the floor for the final time, making sure that all of the edges were within ¼” of the wall (we are putting ¾” base all the way around so that helped too. and tried out the floor that I had used thin-set to make the floor flow…. Worked like a charm, could hardly tell it sloped and it was plenty smooth without bumps.
I then moved on to setting the vanity base in place and setting the toilet. The toilet was the run of the mill setting the toilet stuff. Hooked up the water supply line after going to the store to return the wrong one; remember there are differences b/t toilet supply lines and sink and the various sized fittings in between. Got that set and flowing like it should, then we officially had 2 functioning toilets again!!! As for the vanity, since we had the slope of the thin-set, I had to trim the bottom to level it up with the world. To do this on our 36” vanity, I took a 8” ¾” board and laid it on the ground and in 8” increments marked the slope so then I could be more accurate as to where the slope was. Next I cut the slope bit and the ¾” along the one side and then screwed it into the studs behind the Sheetrock. Once we got the vanity in, we set the top on, with some silicone and put our “new/used faucet on it. Tidied up the bathroom, swept and threw the outlets and light switches in and we almost had a bathroom.


WOW. That looks awesome! Good work, you too!
ReplyDeletehey! put up a post about your Route 66 trip!!!! and we miss you....when can you guys come up??
ReplyDelete