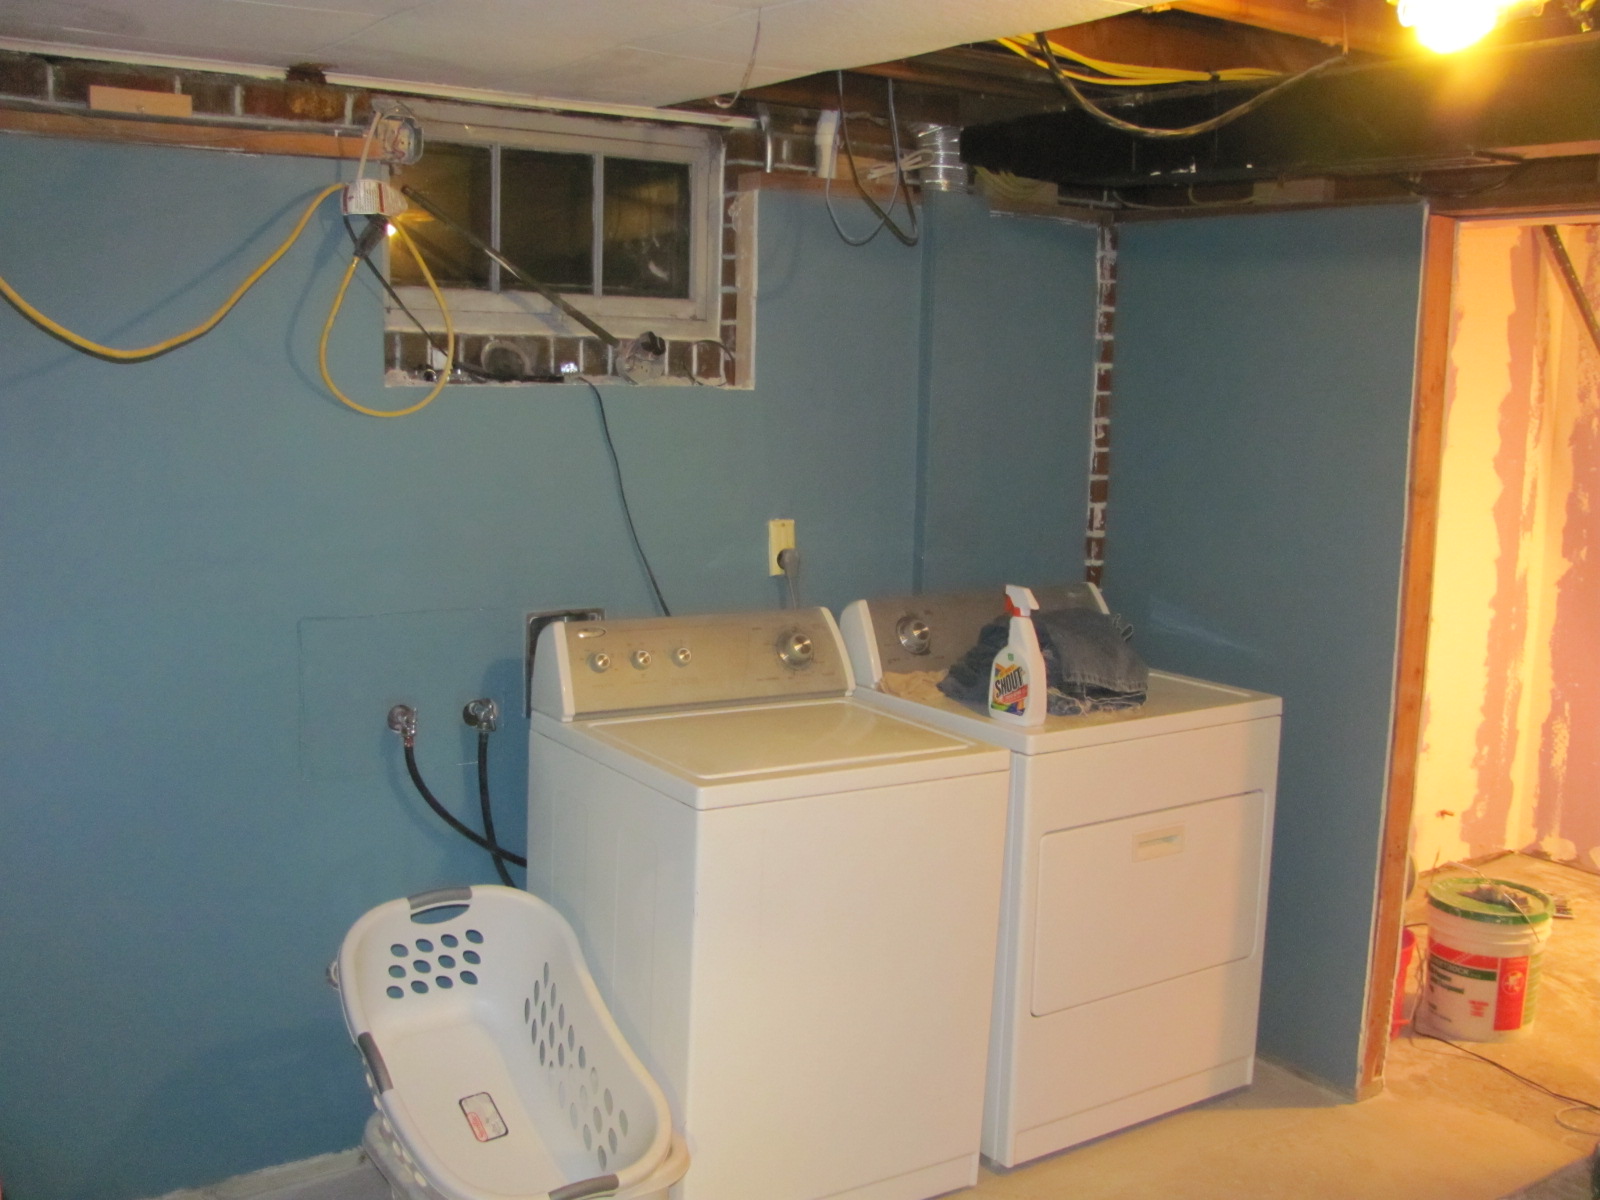
I guess that means that I have to get everyone all up to speed on where we are ACTUALLY at on the house. We had left you off after we had set the stud walls up in the laundry and had epox-ied the floor to look all nice and shiny. Since that happened a few weeks ago, here is where we are now :)
We had gotten all of the Sheetrock going up in the laundry room, as well as then we had the chance to get the washer and dryer out of the soon to be bathroom and back into the room they belong so that we would be able to set the walls in place for the bathroom. After looking back I realize I missed out on a lot of photos during this time, and I apologize for it, but once again, we were moving so quick, no time for photos!! I will throw up what I can find.


 Once the wiring was all set up we then got the rock up and put a good coat of mud to it all to smooth it out. Tomorrow nights project will defiantly be sanding a ton of mud off the walls. But the real problem child was the floor, we ran into a challenge here with the varying heights of different things in the bathroom. Due to miscommunication b/t me and my father, the toilet flange was 1/2 too high in preparation for Tile that we were not going to lay; as well as the shower was leveled using a build-up method instead of a traditional "cut the bottom of the shower" method. To combat this part, I had to be creative. I wanted to use Self-leveling cement to furr it all out and make a smooth transition for it. However, it does what it says.. self levels... so since quick-crete was too rocky I decided to use Thin-set... which I would say worked pretty well. From where the toilet flange is was a 1/2" high and the shower had a 0-3/4" slope on the pad beneath it. To top it all off, the whole bathroom has a slope of 1" every 4 feet so I had to fight all of those. But after it was all said and done, hopefully the vinyl floor will lay beautifully over top it. Most likely that will be decided in a week.

Part II of our most recent weekend was the "almost finish" of the Laundry room. we got all of the sanding and smoothing done of the laundry room, then we noticed that we had some discrepancies in the wall (this was because we were trying to use all of our scrap Sheetrock on one wall so it made for lots of tape seams. So what we did, is we took some drywall mud and watering it down to almost paint consistency and then rolling it on with the most aggressive roller we could find.

No comments:
Post a Comment