The patio has been our storage room for the last 11 months, and might I say....it was quite nice. Over time though, we were realizing that we could not continue to keep lumber and tools in a room that is nothing but glass and we finally didn't need the storage! Our three orders of business were for cleanliness, climate control, and comfort.
 Step 1: Clean: We took the time to seal up everything on the floor. We are not sure how old the patio is or when it was installed, but we do know it settled about 1.5-2 inches total. This isn’t too much, however, it does means that things aren’t as square as it used to be. Caulk and expanding foam filler became our newest best friends. We went around the parameter of the inside with caulk to keep the weather out and the heat in. There was also an expansion joint between the house and the patio, and seeing that it would be a lot of caulk, we first topped it up with expanding foam up to 1” below the surface to keep critters out, then after a little drying time, we hit the top with some expansion joint caulk.
Flooring: Once we cleaned it, we could update the flooring. After a variety of choices we came to the conclusion that it was tile or wood… vinyl that is. We thought this would be much safer outside tile in our changing climate and much more cost effective than refinished cement. We haven't heard many people try this option, but are up for the challenge of being guinea pigs. We took the time to lay it down and lay it well… making sure we weren’t cutting where we were not supposed to and measuring many times. To keep the flooring down, we put quarter round surrounding the edge of the room. This sure changed the look of the room and created a good flow of style from the rest of the house.

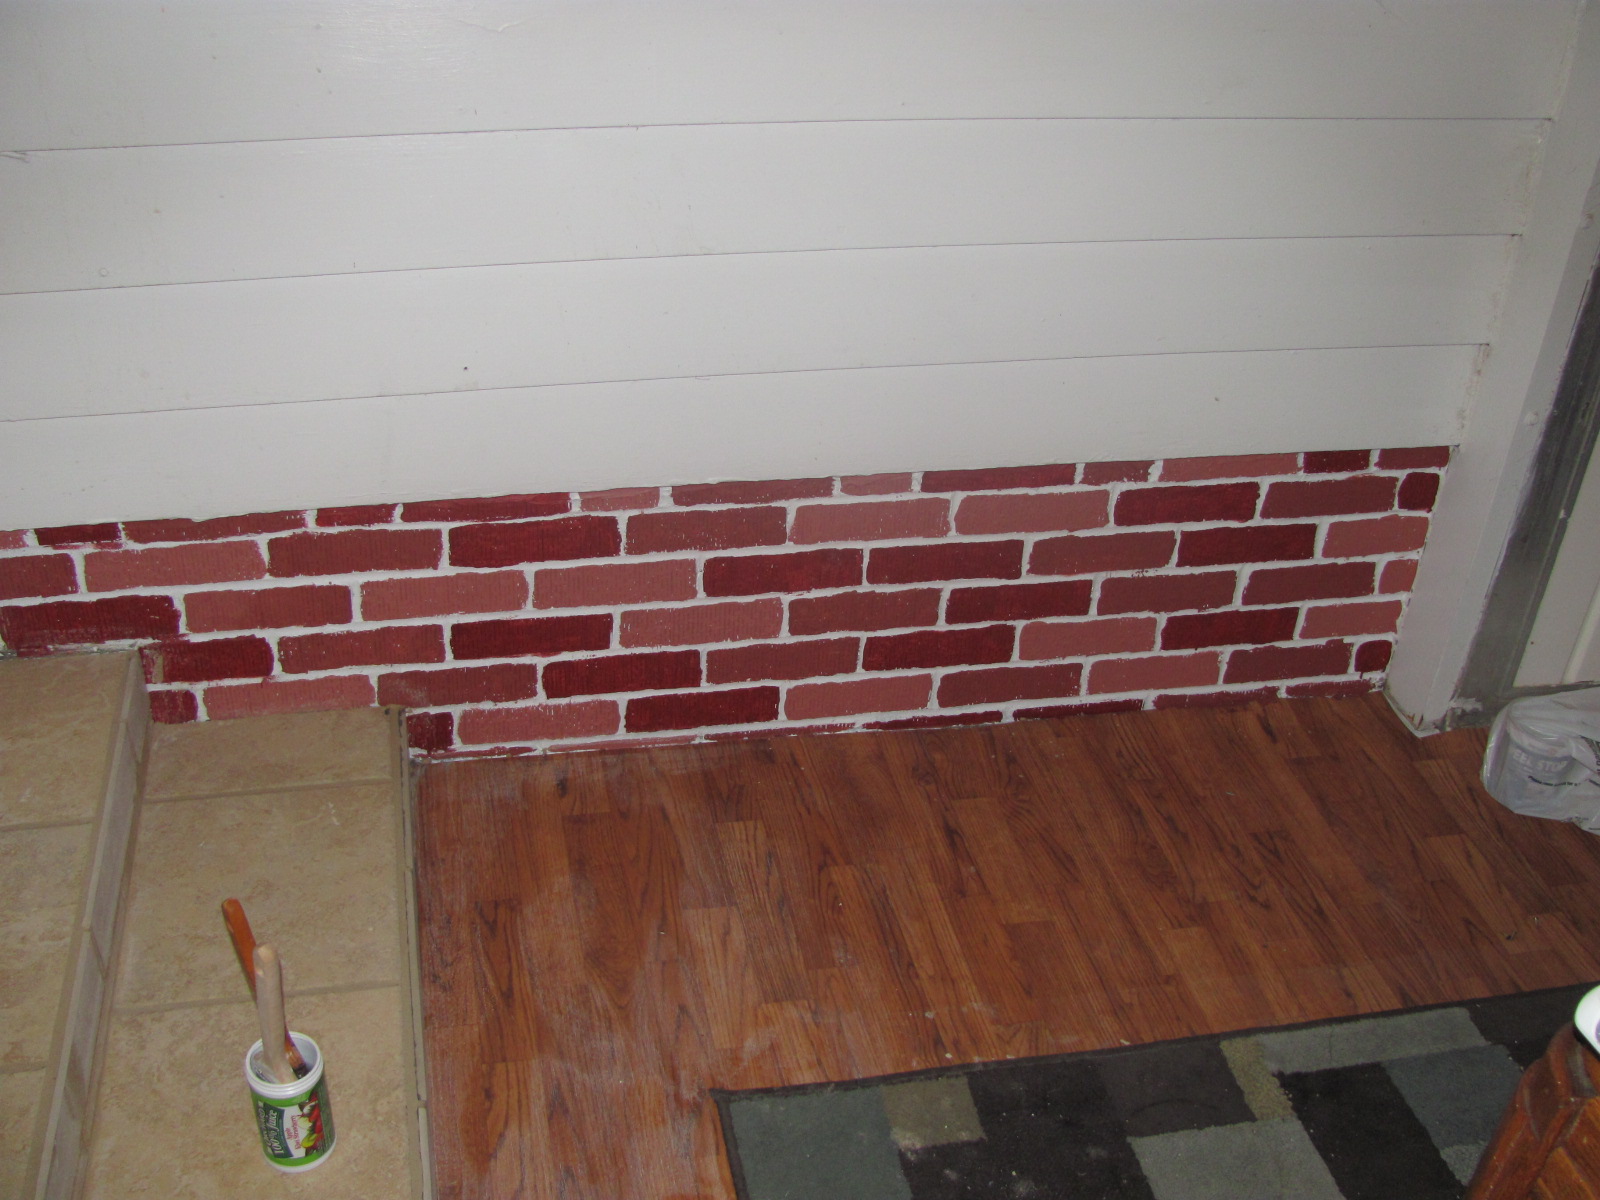
Step 2: Clean/Comfort: Now if you turn your attention to the lower part of the room, we had some wonderful Beaverdale brick circling the wall of the patio. The brick was brown, dirty, full of spiderwebs and stray caulk/concrete mess and not attractive. I thought it could easily use some color, so we went to Menards and got 3 shades of red in sample sizes ( 2 bucks a pop) and then added some color to the room. We found how me and my wife are different again with this project. After finishing she said she just painted random and "artsy"; I however counted the bricks per row, divided by three then painted that many +/- 1. I guess that is engineer random…. and in my mind they look the same (even though mine took a little more touch up.)

 Tabletop: For some reason an interesting "table top" like area was created in the wall of our patio. Luckily we had a small piece of countertop that was the exact size and luckily one of my favorite things to do is framing (or not). We bought a few pieces of unstained mitered moulding and framed it around the countertop, attached it to plywood, glued it all together, stained the top and created a serving area for the patio.
Table (and benches): We knew we had to have a table that could fit lots of people (my bride loves to have people for dinner). We found one on craigslist and a few chairs to go with it for $40. Upon purchasing the table and chairs (and a rug), we decided to re-upholster the chairs. This is actually pretty easy for dining chairs as there is usually a screw that holds the seat on the frame. Once the screw is out-the seat comes out, you remove the staples, measure and cut new fabric, re-staple and re-screw. (Stay tuned for later post on how we made kitchen cabinets into benches to create more seating!)
Step 3: Climate Control: We had to do a little rewiring to get a ceiling fan up. I decided to add and move some outlets for more flexibility in the room and then added a ceiling fan. The ceiling fan was a request from my bride and a superb idea as it keeps cool on those warm summer and autumn days. We hope to have a small space heater for the cooler days when we feel the need to use the extra space. We painted the conduit to match the walls, so it's a little harder to notice and blends in well. In our last post we detailed the steps which extended into the patio.
Curtains: My wife says every window needs to have a curtain. She came up with this great idea for drop cloth curtains. Apparently they are pretty easy since drop cloths come in a variety of sizes and already have finished edges. They can also be dyed any color to match the room. After sewing a place for the curtain rod, we used spray painted aluminum conduit for the rods and some eye bolts cut into hooks. We pre-drilled the holes into the aluminum side of the patio, then used a vice to tighten the bolts. To finish we simply tie the curtains back with ribbon or string when we want them open.


And that's enough for one post: Next time cabinets made into benches and our solution to laundry basket storage.
No comments:
Post a Comment