Saturday, January 22, 2011

The Warmth of a fireplace

Well we thought maybe since a few people had heard about our progress over the last weekend, we may as well post it up so the rest of the world can see it.
The big goal of our MLK weekend was to get our back-splash done. Originally, it was going to be and my wife doing the blunt of the work and struggling our way through it. Thankfully a sister once again volunteered her talents and was able to help on the back splash, and it looks pretty good if you ask me. (And it allowed me to work on projects I saw of higher importance)

It is your run of the mill earth tone square mosaic tile you can buy in sheets. But then we decided that would be too boring so we bought some accent tiles; expensive little buggers, and put those in to add just a little more depth to things.
Oh and just a side note, when you buy thin-set, double check if it is quick setting or not... kind of makes a big deal of things if you have to hurry.

So while those two were busy with the tile me and my sisters "Special Friend" worked on finishing the data wiring through the house. he did a great job and it looks really good and clean. If anyone needs this done I highly recommend that you call him to come and do it. So now we have hard line internet and Coax running to almost every room in the house.
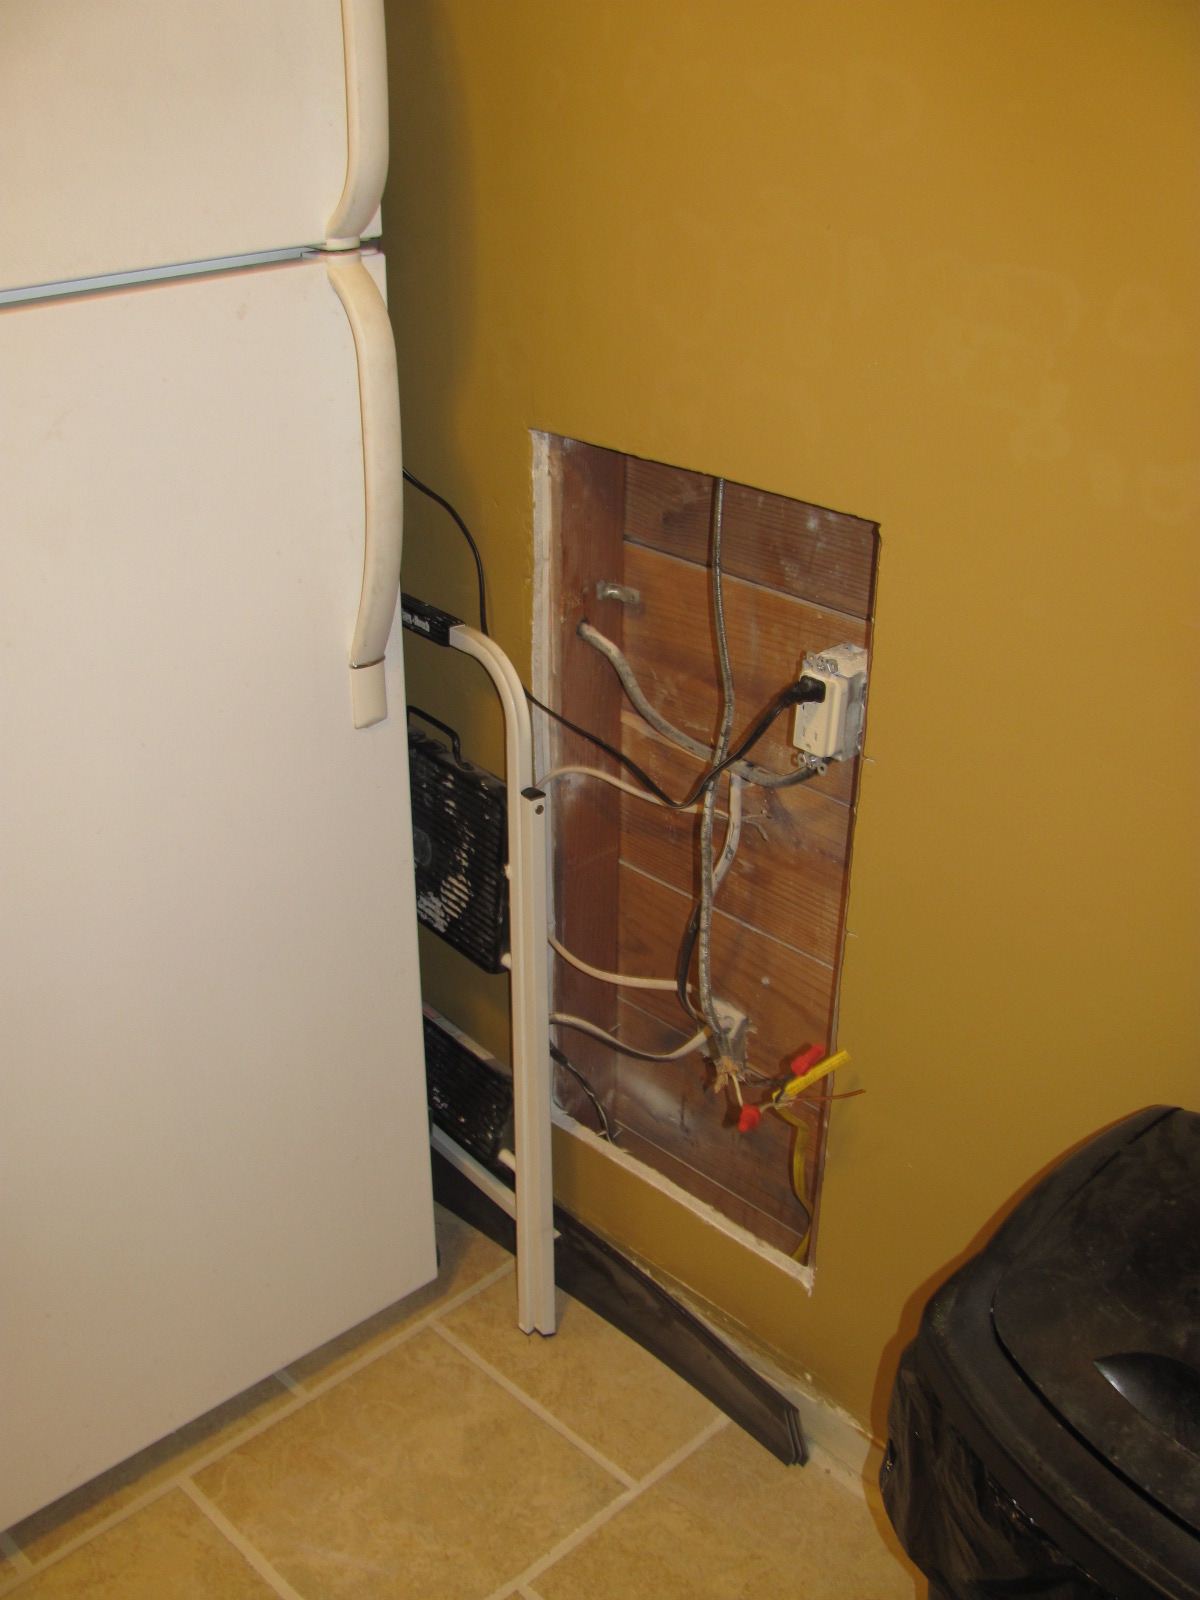
I plan on building a cabinet door and surround to go around it and make it "outta sight outta mind" but still very accessible for people if something needed change in the future. I am also going to just make a piece of plywood that can cover the exposed wire around the panel box and be painted to match the walls.  This will clean up the messy look of the Main breaker box and the central data location.


Now for the big one, long story short; we have been watching our Craigslist for a fireplace over the last 3 months. Mainly because both our patio and basement are reasonably cold places and we wanted something that would match the decor and still be nice. Once we started looking into it. We were not able to do anything in the basement, for venting reasons and our chimney now used for the furnace vent. as for the patio, we would have to do quite the overhaul of a wall so that idea was kind of out.


We were at Menards the other day, and they had on sale an electric fireplace insert. It is made to be put in a place where you had a fireplace but have no interest in making a real fire. So we got it and brought it home, but we had no mantle to place it in or anything. We did have a lot of scrap wood, and an air nailer lying around :) We then spent a part of the night looking at fireplaces on the internet and taking design cues we liked from them.


I spent the next day grabbing all of the leftover 1 x 8's and 12's and cutting them to what I needed to make a base, Uprights and filler boards. I had leftover Crown from the kitchen and baseboard from the wall we took out and left over 2x3's for the framing from the basement studs. We did go and buy 3 pieces of 1/2" round... to finish the look, but for the most part that was all. I had to cut a large piece of plywood we had from the cabinets upstairs for the top of the mantle...we have yet to paint it, but looks pretty good. My wife liked it so much; it is apparently going to stay upstairs in use until the basement is finished.
The best part about it is it weighs less than 80 lbs, so when it is wanted in one room... it can go there. We do plan on putting some paint on it or something, we are just not sure as to what color we are going for. But we are always open to suggestions !

Tuesday, January 18, 2011

Basement continued

Again, fallen off of the bandwagon, I remember in the days of old (last
Sept/Oct) this thing was getting updated all of the time. Now we are just trying
 to keep up with our changes.

So where was I, Oh yeah; So once I have gotten all of the studs up and in place
with the help of a friend, I was able to get ready to move on to other things.
But before I could go too far, I had to get a fire-blocker up in place on the
stud walls. Basically a fire-blocker is just what it sounds like. As you stud a
basement wall, you see that there is some space b/t the stud wall and the block
wall due to the need to have a square wall.  That space can be dangerous in the
event of a fire. allowing a chute for fire to follow from the basement to your
upstairs.

The way that we prevent that is by installing small blocks of wood that cover
the cavity b/t the two walls. eliminating the strong updraft that can be created
by a fire. In some states it is code in others not. But I had some extra
trim board I pulled off of the wall that worked perfect for the job.


Wiring/Speakers
I was then able to get my wires run through the walls, sorry for the few
pictures, but i was just in a groove.  The important thing to remember are that  you want to keep the outlets in the basement a min of 12" off the floor, and that you also NEVER run electrical within 6-8 inches of either audio or data(cat-5 or Coax) because this will cause disruption in the signal.

I actually went ahead and ran the speaker wire close to the ceiling and the Cat-5 about 10 inches above my 12-2 wire but the only impossible place was when I had to pass under the panel box. (well you can't win them all) Also took the time to get the wires for the outlets run, and I plan on a majority of the basement outlets being on 1 circuit, just to keep things simple.

After I was able to get all of the wires run, I could then begin to do my least
favorite project... my dads is plumbing, mine is insulating. Nothing worse than
being covered in fiberglass insulation and having your entire body itch from
the small fibers.

Anyway, we decided that it would be worth it to insulate the basement to keep
that extra bit of warm and actually kill the sound echo a little bit. Nothing
fancy but what is necessary to have those creature comforts. As for what
insulation to use it is primarily up to the person and what you are insulating.
What is most important on insulation is the R value, it is on all bags of it,
displaying its R-Value (basically how many hours it takes to change the temp of
one side to the same temp of the other)

More explained:

Then up went the Vapor barrier, it has some R-value to it, but not really. All
the vapor barrier is for is to keep moisture from condensing on the backside
of the sheet-rock. Also as for thickness of the plastic, its really at your
digression, I used 4 mil, but you can go anywhere from 2-10 mil then just
staple it up with a nailer or whatever will stick it to the studs long enough
to hold it until the sheet rock goes up!

Last but not least, to really change the overall look of the basement, we get to put the Sheetrock up. It really went pretty smooth overall, other than i decided to put it up by my lonesome. Not very recommended, it is just useful to have that extra set of hands around to be able to help out with moving and cutting of the sheet-rock. I used some mold-resistant Sheetrock it is nearly the same price as a regular sheet, usually green or purple. Reasonable cost for piece of mind.

Our ceilings in the basement are fairly low, which you will get with an old house. So I had to cut about 12-14 inches off of every sheet... that always stinks when you have to take that much off. Also I made sure to leave at least 1/2"-3/4" inch above the floor of the concrete just to keep any moisture from getting on the rock.


And Over the weekend, we got our back-splash up, and a small "impulse" buy and good use of our scrap wood, you will just have to wait and see......

Tuesday, January 4, 2011

Basements 102 (Framing)

Now onto the more difficult of the tasks for the home DIY'er, Framing. This isn't for the faint of heart, and somthing that I would receomend finding a friend to help you out with.

Framing is the boards that go one the wall behind the sheetrock and what holds the wires, insualtion and house all together.  In the basement there are options to how much of an extent you want to go with it. When it comes to size of the studs and spacing there options.


For the studs (verticals) You can use a 2x2, 2x3, or 2x4;  if you choose to use a 2x2, you can secure them straight to the wall, with anchors, obviously anchors that go below the surface of the wood allowing you to secure the Sheetrock without interference. This method would also allow you to do without a sill (board running across the top or bottom) but not very well recommended. Otherwise you can create a standard 2x3 or 2x4 wall and secure them in place. As for the sill; in a basement it is always a good idea to use pressure treated wood for the sill that is on the floor. Pressure treated wood is water and mold resistant, not proof, just resistant. The bottom board is the one that is pressure treated see the difference?

On the spacing... there are two options 16" and 24" optimally, This means the space from edge to edge is 16"s or 24".  Really there is little advantage to doing a 24" spacing on studs; usually 24" is saved for garages and basements and that's it. It is less load bearing but the advantage is that if you have a very very large basement it will save you a couple of bucks. But when you think about it a 30 x10 room would require 65 studs on 16" spacing and 43 when on 24". So it does make a bit of a difference if cost is a big thing. The only big disadvantage is that if you 24" spacing, that means there is an extra 8" between studs and therefore the Sheetrock over it will be more likely to crack when force is put on it. So if you have small children or plan on them...  with there rough and tumble and pushing one another into the wall; 16" spacing may be worth the extra 40 dollars in studs.

I ended up using 2x3 for the reasons that they were a hair cheaper than 2x4's, give me an extra inch or two on the room and it is just enough to be able to fit a normal sized electrical box in the wall.


While or before getting in too deep with framing up, you need to have a layout. If it comes down to a big square room, then there is not much to do. If you have a dividing wall however,  you will need to lay it out before you put it up.  I used string and a sharpie to start with the layout of the dividing wall since you can't guarantee that any of the basement walls are level you have to do your best to get your wall straight and true.

If you are short a level, and all all you have is a pen and a tape measure... that's all you need. Measure on 1 board 3 feet and mark it then measure the other way at 90ยบ and mark 4 feet. Once those are done, the distance in between should be 5 feet. if not. Adjust which ever wall is still movable and that will put it in square... this works vertically and horizontally.

I had to use this method to set up our closet that was to go into the office/ bedroom. This wall was to be dividing up the big room so we have a smaller room on one end. The only bad thing that made it difficult was that I had to work around a water shut off valve. My personal preference is that I can be able to turn a wrench on the pipe in the wall; nothing is more frustrating then a homeowner building something around an important pipe or wire that now has no access. So our closest is a little extra deep, but worth it if I ever need to be taking the water pipe apart.


That concludes Basements 102... but there is more to come (when I get more photos) and we can go over FireBlockers and Egress windows and touch on insulation.


Finishing basments 101

Hope everyone out there had a wonderful Christmas and New Years! Me and my wife got to spend time with family and friends and away from the chaos of the house remodel that is constantly a temptation to work on :).

After all of the business of the holidays we had a chance to work on the house some. My place of work was shut down over the span between Christmas and New-Years, so I had the most opportunity to work on the house. the last time you were updated, we were doing the tidbits of final touches upstairs. Since then we have jumped to the basement; there are a few big projects awaiting us (cutting 25' of sewer line from out of the floor) but we decided that we want to at least make some livable space in the basement.

You need to know some things before you begin to finish a basement because they will effect how it is done.

What kind of walls do you have?
What you are wanting to use it for?
How often you will be down there?
Do you want it to be warm or not?
Does your basement tend to flood?

We are planning on using our basement for entertainment and for a place to be away from upstairs and part of that room we want to convert into a small bedroom/ or office.

First before anything, you want to seal your walls, really almost regardless of if you have had water in your basement in the past or not this will prevent water from at least coming through the walls. There are many options out there for sealers but you should know your needs and not just buy one.


The brand that we ended up getting was called Watertite; we also looked at drylock, but the warranty on it was the difference b/t 10 years and lifetime. Another thing to consider is the amount of water that can be  and needs to be held back. the WaterTite had a rating of 34 PSI (which means that it can have 34 pounds of pressure per square inch on the wall from water and not leak) and Drylock had a rating of 10 PSI; usually car tires are filled at 30-40 PSI, so that gives you a good idea of how much force it can hold. It wasn't cheap however; close to 30 dollars a gallon, and covered an area of about 8 x 20 feet after 2-3 coats. Making sure that the grout lines (stuff in/bt blocks) were covered the best. so depending on the dampness of your basement walls will determine what you are after for sealer.


Here is a good article that walks you through more specifics:  Waterproof-Your-Basement


Once we had the walls sealed, we were able to start laying out stud walls and how we wanted our basement to work.

Tuesday, December 21, 2010

Caulking and Cupboards:

So a week or so ago, while me and my wife were sick, we conjured up enough energy to putz away at the house. Though we were sick, I decided that it was time to finish the caulking in the bathroom and also that we could maybe try to get the handles on the kitchen cabinets. we were having issues/getting sick of grabbing the doors by the bottom and fighting the drawers open for things.
With the caulk, I found a trick that works ok if you are not confident in your abilities to caulk. What can be done is that you grab a roll of painters tape and then put the tape along the bottom edge of where you want the caulk, and the repeat the same with the top. Like this:


Then caulk at the best of your abilities, then either take a piece of cardboard, or one of those 2 dollar "perfect caulk" tools and make a smooth caulk line. I would not recommend using your finger, it is messy and it creates a concave fill and sometimes wipes out more caulk than you want out.  Make sure as well that the paint is dry.. or you will be like us and repaint part of your project.

Quick trick to putting on cabinent handles:

I took a piece of plywood and nailed on some 3/4" square board on both sides in an "L" shape and then we decided where we would want the handles for the cabinets and then measured in on the jig and drilled two holes for the handles. we used a 5/32 drill bit for this even though it required a 3/16 for the machine screws explanation later.  On this part... MEASURE MEASURE MEASURE... you do not want to get this wrong because it will be on all of the doors.


So after I test fitted a handle on the jig and it lined up perfectly on the holes, it was time for the real deal. I used a C-clamp Vise grip and set the jig in place... and a good note; use a piece of scrap plywood on the back to keep the backside of the cabinet from blowing out.  We took our time and they all drilled out nicely.

after that we fitted the handles.. the screws were tight because of the smaller hole.. Then if the handle didn't line up nicely, we took a 3/16 bit and drilled it out a bit so we had some play with the screws.. worked out great.  We have gotten enough done upstairs... that I decided to start on the basement!!

Friday, December 17, 2010

Coping with our Progress... he he

The past few weeks since Thanksgiving have been busy, but not so much in ways of working on the house. However, we were able to get some more things done. But as always the devil is in the details; sometimes there are far too many as well.

Our first big thing on the list was to get the crown molding up around the kitchen and dining room. This is not a task that is for the faint of heart or for those who have short fuses.  The part that makes it this way is the Coping; you are taking a saw that was created by the makers of the Ouija board and trying to create a contour that matches the trim piece that is already nailed up. Not to mention you are cutting a contour on a board that is at a 45 deg on a 45 deg angle….. see what I mean?

The keys are to take your time, do it with a friend (preferably someone who has seen you mad) and just to practice a couple of times. Oh and about 10% extra crown for when you screw up. The cuts will almost never fit snug, but you want them to fit reasonably; obviously the tighter the better.

Here are some photos of my guess guided cutting:


Also here is what happens when you work alone and without a clamp. This is not recommended doing as part of the process.


But after lots of work, and many wrong cuts, you end up with a final product!!! TA DA!

 
Now the only other thing to it is making the corners look good. What I did to fill the gaps was to use painters caulk, and we all know how fun caulk can be to clean. To get around that, I grabbed an old sponge and added hot water and some soap, I was able to caulk the corners of the molding and then take the sponge and smooth out any lines that may have developed and make it look like my coping was perfect!


Thursday, December 2, 2010

Leftovers of Thanksgiving (Not Talking Turkey)

Happy Late Thanksgiving everyone!!!!

We as well as many others in the country got to go home and spend time with family and friends, it was a fun time. Also over the weekend we got to go Black Friday shopping. This was my first experience in about 7 years; It was a little crazy but not too bad, but it was a good opportunity to get some things for the house on sale prices. From what my inside source had to say about Lowes is that Black Friday is a really good day to buy appliances if needed.

After a barrage of phone calls and conversations that sound like “why haven’t you updated ur site thingy” we apologize to those of you gripping to hear what progress has happened on our home. After a week and a half of no updates surely something exciting has happened.  Well plenty has happened and I am not sure I can put it all into here without writing a novel.

Well, after we got moved into the house, things got a little more difficult. Word of the wise, get as far as you can before moving in, it makes things easier to clean and keep clean. Sheet-rocking alone makes a mess of dust if you don’t have a vacuum sucking it up. As all of you know, we had tidbits of things to finish in all areas, Wiring, Plumbing, hardware, Sheetrock. ETC.  Also outlets to be replaced and covers still need to be put on most switches in the house. As we have been living in it, we have been taking on unfinished tasks one by one to get them done. The best way we found to be able to get things done is to each time you have free time, pick 1 ONE 1 ONE 1 task and work on that, don’t make a list of things you want to do each night, just pick ONE and do it. We find that this is the way to do it and continue to click along down the list of leftovers.

Odds and ends:

Mystery light switch (a often seen sight in older re-rewired houses) If we knew what it was to we would use it....ha ha ha


The last of our sheet-rocking upstairs and the “I’m going to get to it”  hole that is still there
And the dishwasher that doesn’t JUST fit. Work in Progress

The basement… looming and waiting…. And no matter how many times I clean & organize… still a mess…..soon we will begin on that project. Only once upstairs is done, I don't want a house full of half projects.

More  Basement mess..& the Laundry room


As said before, the Basement Is just our holding cell for all of our excess materials. we do have plies organized as to where they will go, the bathroom (to be) has all of the bathroom things in it. and the laundry room has shelves... they are just sitting on the floor. 
Now that we are back we can hop back to it

About Me

Living Our Lives in a Central Iowa City We have been married over a year and carrying on an adventure of crazy life with each other and documenting the chaos along the way